
Noticed a patch of green spreading across your roof? It might look harmless, but moss can damage shingles, trap moisture, and shorten your roof’s lifespan.
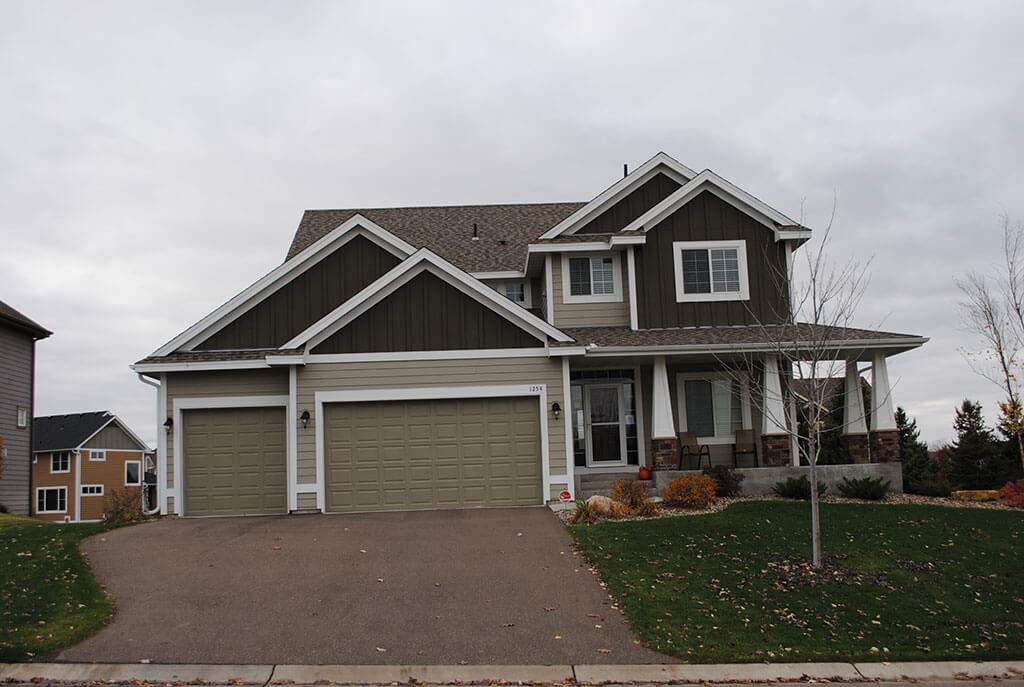
This is especially common in Minnesota neighborhoods with older homes and lots of shade. If you live in places like Edina, St. Louis Park, or Woodbury, where trees keep roofs cool and damp, moss growth can become a repeat visitor.
In this post, we’ll break down what causes moss, how to get rid of it safely, and how to keep your roof clean and strong for the long haul.
Key Takeaways
- Moss may look harmless, but it can trap moisture and damage your roof over time.
Shady, damp areas, especially in neighborhoods like Edina and St. Paul, are more prone to moss growth. - Use gentle tools like a garden hose and soft-bristle brush. Never pressure wash or scrape.
- Apply a roof-safe moss killer, let it sit, then gently remove dead moss.
- If your roof is steep, slippery, or the moss keeps coming back, call a professional like TCSR for help.
What Causes Moss to Grow on Roofs?
Moss thrives in damp, shaded environments, making north-facing roofs and tree-covered homes especially vulnerable. If you live in areas like Edina, Woodbury, or St. Paul, your roof may stay cool and moist for longer periods, especially after rainfall or snowmelt.
Older shingles tend to hold onto moisture more easily, giving moss a perfect place to take hold. Add in clogged gutters or poor drainage, and you’ve got the ideal setup for moss to spread across your roof over time.
Why You Shouldn’t Ignore Moss on Your Roof?
Moss might seem like just a cosmetic issue, but it can quietly cause serious damage if left alone. What starts as a patch of green can turn into costly repairs or even a full roof replacement.
In the Twin Cities, where damp springs and shaded roofs are common, moss can build up faster than many homeowners realize. That’s why it’s important to stay ahead of it.
Here’s why it’s worth addressing early:
- It lifts shingles and traps moisture, which can lead to rot, leaks, and mold.
- It may void your roofing warranty if maintenance is neglected.
- It creates slippery surfaces, especially near roof edges and valleys, posing a safety risk.
- It’s often a warning sign that your roof may need professional inspection or repairs.
How to Safely Remove Moss from Your Roof
If you’ve spotted moss growing on your roof, acting fast can help prevent long-term damage. While it’s always safest to hire a pro, especially for steep or older roofs, some homeowners prefer to try the DIY route.
If that’s you, safety comes first: never climb your roof unless you’re 100% confident it’s safe to do so. When in doubt, call a professional.
For those ready to tackle light moss growth on a manageable roof, here’s a step-by-step guide to help you do it safely.
Step 1: Gently Rinse with a Garden Hose
Use a garden hose with a standard spray nozzle to lightly rinse the affected area. Avoid pressure washers, which can strip protective granules from shingles and cause more harm than good. Your goal here is to loosen the moss, not blast it off.
Step 2: Apply a Moss-Killing Solution
Use a roof-safe moss remover—or mix your own with equal parts water and bleach or vinegar. Apply the solution generously over the moss-covered areas. Be sure to wear gloves and protective eyewear, and never let the solution drip onto landscaping or siding.
Step 3: Let It Sit
Allow the solution to sit for 15 to 30 minutes, depending on product instructions. This gives it time to kill the moss down to the root. You may notice the moss turning yellow or brown, which means it’s dying off.
Step 4: Lightly Brush the Moss Away
Using a soft-bristle brush or broom, gently loosen and remove the dead moss. Always brush downward, following the direction of the shingles to avoid lifting or damaging them. Take your time. This isn’t a job that should be rushed.
Step 5: Rinse and Inspect
After brushing, give the area a final rinse with the garden hose. Then inspect your roof from a safe distance for any damaged shingles, lifted edges, or exposed areas. If anything looks off, it’s a good idea to schedule a professional inspection.
Pro Tip: Never Scrape or Pull Moss
It might be tempting to rip up a patch of moss, but pulling or scraping can cause more damage, especially to older or brittle shingles. Always aim for gentle removal, and when in doubt, call in the experts.
When Should You Call a Professional for Moss Removal?
DIY moss removal can be doable for small patches and low-slope roofs, but it’s not the right move for everyone. In some cases, getting on the roof yourself can do more harm than good.
Use this quick checklist to know when it’s time to bring in a pro:
Your roof is steep, tall, or slippery, making it unsafe to access without proper equipment.
Your shingles are brittle, curled, or already damaged, and you want to avoid making them worse.
The moss covers a large area or keeps growing back no matter how often you clean it.
You want to protect your roofing warranty, which may require professional maintenance.
You’re not sure what cleaning products are safe, or you simply want peace of mind that it’s done right.
If you have even checked one of these boxes, it’s time to let the pros take it from here.
Stop Moss Before It Damages Your Roof
Moss might not look dangerous, but in places like St. Paul, Edina, or shady Woodbury neighborhoods, it quietly breaks down shingles, traps moisture, and invites bigger problems—like leaks or mold.
And once it starts growing, it tends to come back fast if it’s not handled the right way.
At Twin Cities Siding and Roofing, we help Minnesota homeowners remove roof moss safely and for good—without damaging shingles or risking your safety.
Whether your home is tucked under the pines in Shoreview or surrounded by maples in Highland Park, we’ve got the tools and know-how to keep your roof moss-free, season after season.
Need help getting started? Call us at 651-571-9557 for a free estimate and expert support.
We’ll help you protect your roof and your peace of mind.


